
Before you install the new version of QuicDoc, review this Installation Guide to learn how the installer works and what is needed for a successful installation.
QuicDoc is supported on both the 32-bit and 64-bit versions of these Windows operating
systems.
SQL Express:
| Client * | Supported Operating Systems | 32 bit- Windows XP Service Pack 2, Windows Vista, Windows Vista SP1;
64 bit- Windows Server 2003 x64 Editions; Windows XP 64-bit |
| Physical Limitations |
|
|
| Server * | Supported Operating Systems | 32 bit- Windows Server 2008; Windows Vista; Windows Vista SP1;Windows Server 2003 SP2; Windows XP SP2 and SP3; 64 bit- Windows Server 2003 x64 Editions; Windows XP 64-bit |
| Physical Limitations |
|
If you are upgrading an existing version of QuicDoc, first backup your QuicDoc database before beginning this installation.
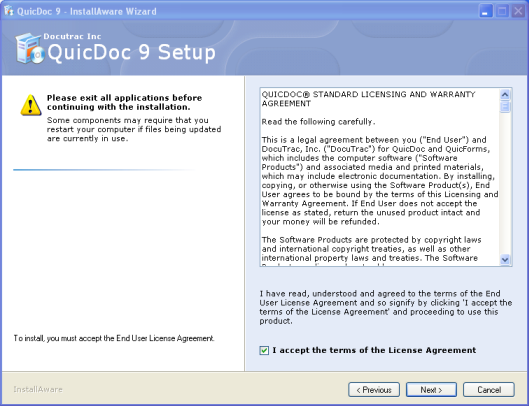
The setup wizard will guide you through the installation. For multiple users and machines, be sure you have purchased the correct number of licenses to run QuicDoc on additional machines or to run simultaneous connections to the QuicDoc database depending on your network configuration. Be sure write down IDs and passwords that you enter in the Setup Wizard. Please contact our Support Department at 301-766-4130 for assistance.
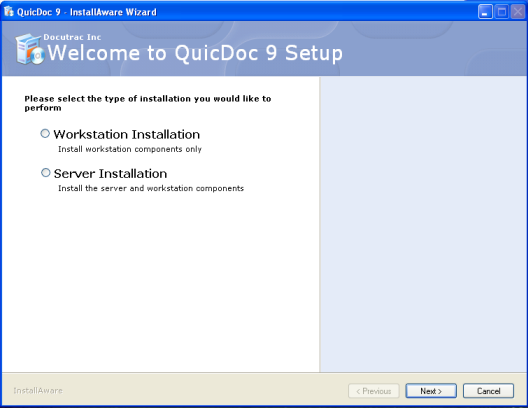
The welcome screen gives you the option of choosing a Workstation or Server setup. The “Workstation installation” installs only the program; Server installation” installs the server components (including the SQL server if needed) and the programs.
• Workstation Installation: Select Workstation if installing only on a
workstation and you will be accessing the database on another computer (server).
• Server Installation: Select this option to install the database on that
computer.
Note: For Single PC licenses always install the Server installation.
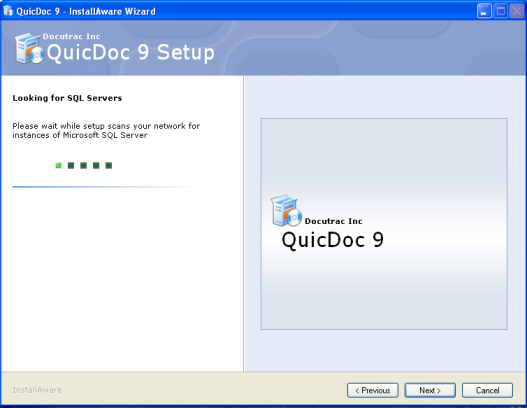
If you choose Server Installation the installation will automatically look for any existing SQL servers on the network.
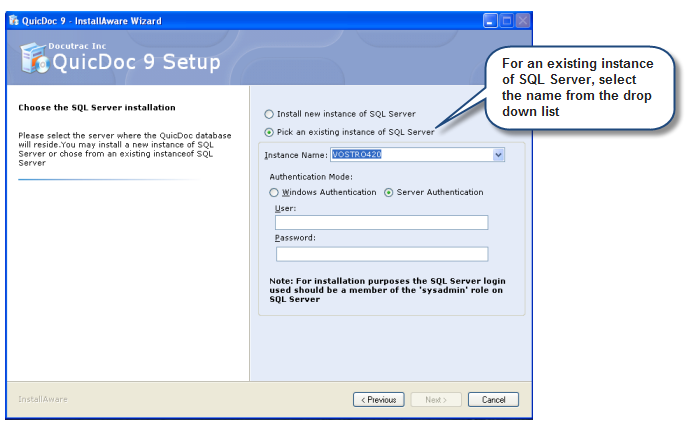
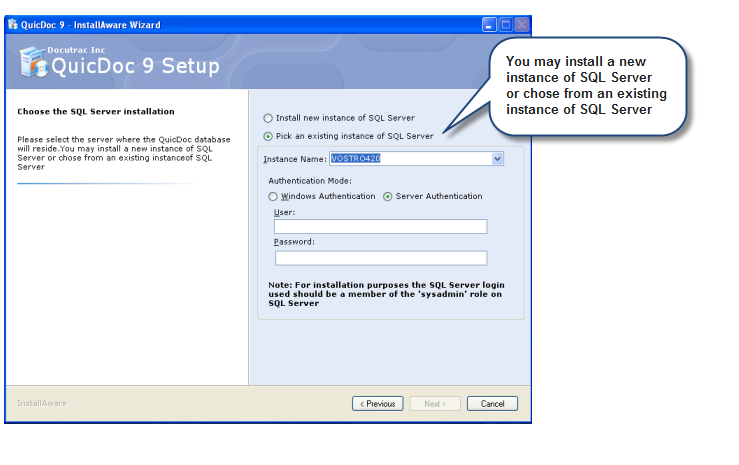
The next screen will include the option to either install a new SQL server or pick a SQL Server already available on the network. The QuicDoc
database will be installed on the SQL Server selected.
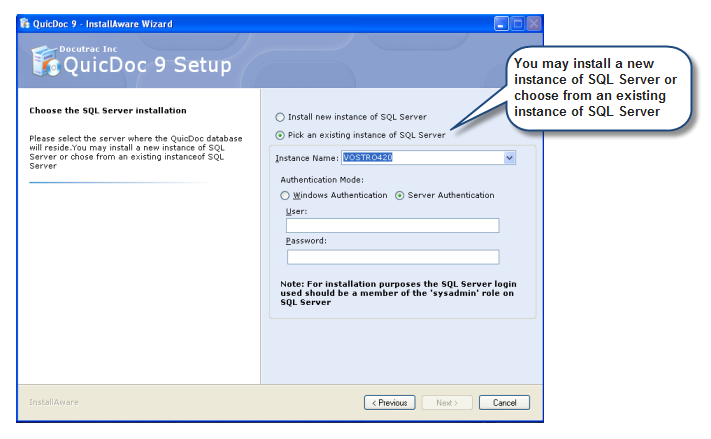
If you choose to install the QuicDoc database on an existing server then you will have to provide the login information to connect to that SQL Server.

To open, select the QuicDoc icon on your desktop or go to Programs...QuicDoc9 from the Start menu on your
desktop.
The first time you launch QuicDoc you will have to configure your program.
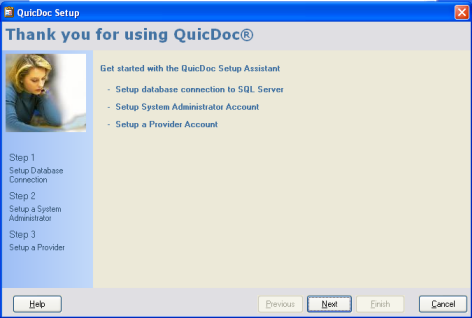
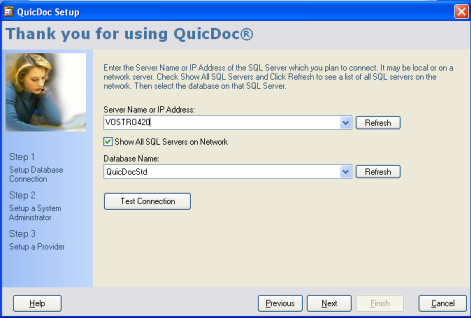
First you will set up the database connection. Select your Server Name or IP Address and the Database Name.
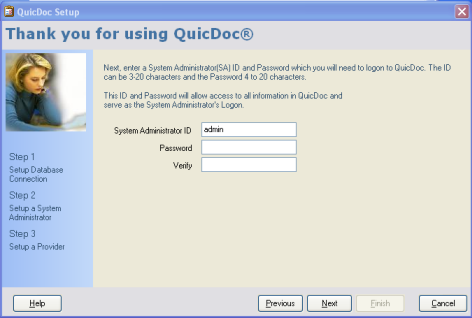
System Administrator Logon
Next, setup a System Administrator ID and Password. The IDs can be from 3 to 5 20 characters, and
the password from 4 to 20 characters. Keep the password simple, something easy to remember. It can be changed later.
Note: ID’s cannot
be changed once entered and saved, so use something you will remember easily for the Administrative ID. Write down your IDs and passwords and keep
in a safe place.
User Logon
Next, enter a User ID and Password for yourself as a provider of service. The User ID must be different from the
Administrative ID. Enter your name Last Name and First Name. Enter a password; it can be the same as the Administrative Password. Verify the password
by typing it again in the Verify Password field.
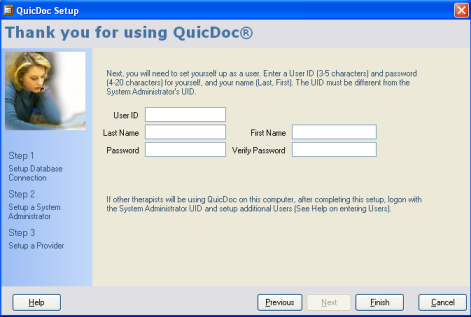
Note: Be sure to write down all ID’s and passwords that you enter.
If others will be using QuicDoc on this computer, log on with the System Administrator ID and Password and set
up additional users. Each provider will have their own user ID and password, allowing access only to their patients
or clients.
NOTE: If running QuicDoc on a network, you must have a basic knowledge of network concepts, operation, and
maintenance (this includes sharing files and folders over a Windows network and addressing network permissions
for network users). DocuTrac, Inc. does not provide technical support for network setup, network related
problems, or network maintenance.